Asciify (#175)
Most images nowadays are represented using pixels. They are square, often relatively small and numerous, come in scale(1.000401)%27%3E%3Cuse%20x=%270%27%20y=%27-4.18568%27%20xlink:href=%27%23g0-1%27/%3E%3Cuse%20x=%274.556761%27%20y=%27-4.18568%27%20xlink:href=%27%23g0-3%27/%3E%3C/g%3E%3Cg%20transform=%27translate(0%2013.948)scale(.999987)%27%3E%3Cuse%20x=%2710.404869%27%20y=%27-8.522894%27%20xlink:href=%27%23g1-2%27/%3E%3C/g%3E%3Cg%20transform=%27translate(0%2013.948)scale(1.000401)%27%3E%3Cuse%20x=%2715.144078%27%20y=%27-4.185681%27%20xlink:href=%27%23g0-2%27/%3E%3C/g%3E%3Cg%20transform=%27translate(0%2013.948)scale(.999987)%27%3E%3Cuse%20x=%2719.689752%27%20y=%27-8.522894%27%20xlink:href=%27%23g1-1%27/%3E%3C/g%3E%3C/g%3E%3C/svg%3E)
scale(1.000401)%27%3E%3Cuse%20x=%270%27%20y=%27-4.18568%27%20xlink:href=%27%23g0-1%27/%3E%3Cuse%20x=%274.556761%27%20y=%27-4.18568%27%20xlink:href=%27%23g0-3%27/%3E%3C/g%3E%3Cg%20transform=%27translate(0%2013.948)scale(.999987)%27%3E%3Cuse%20x=%2710.404869%27%20y=%27-8.522894%27%20xlink:href=%27%23g1-2%27/%3E%3C/g%3E%3Cg%20transform=%27translate(0%2013.948)scale(1.000401)%27%3E%3Cuse%20x=%2715.144078%27%20y=%27-4.185681%27%20xlink:href=%27%23g0-2%27/%3E%3C/g%3E%3Cg%20transform=%27translate(0%2013.948)scale(.999987)%27%3E%3Cuse%20x=%2719.689752%27%20y=%27-8.522894%27%20xlink:href=%27%23g1-1%27/%3E%3C/g%3E%3C/g%3E%3C/svg%3E)
 different colors and thereby do a good job being the fundamental building block of images. But one can imagine more coarse-grained and differently shaped pixels.
different colors and thereby do a good job being the fundamental building block of images. But one can imagine more coarse-grained and differently shaped pixels.
An interesting fact is, that in most monotype fonts two characters placed right next to each other (for example “$$”) occupy roughly a square area. So simple ASCII characters can indeed be used to approximately describe any ordinary image.
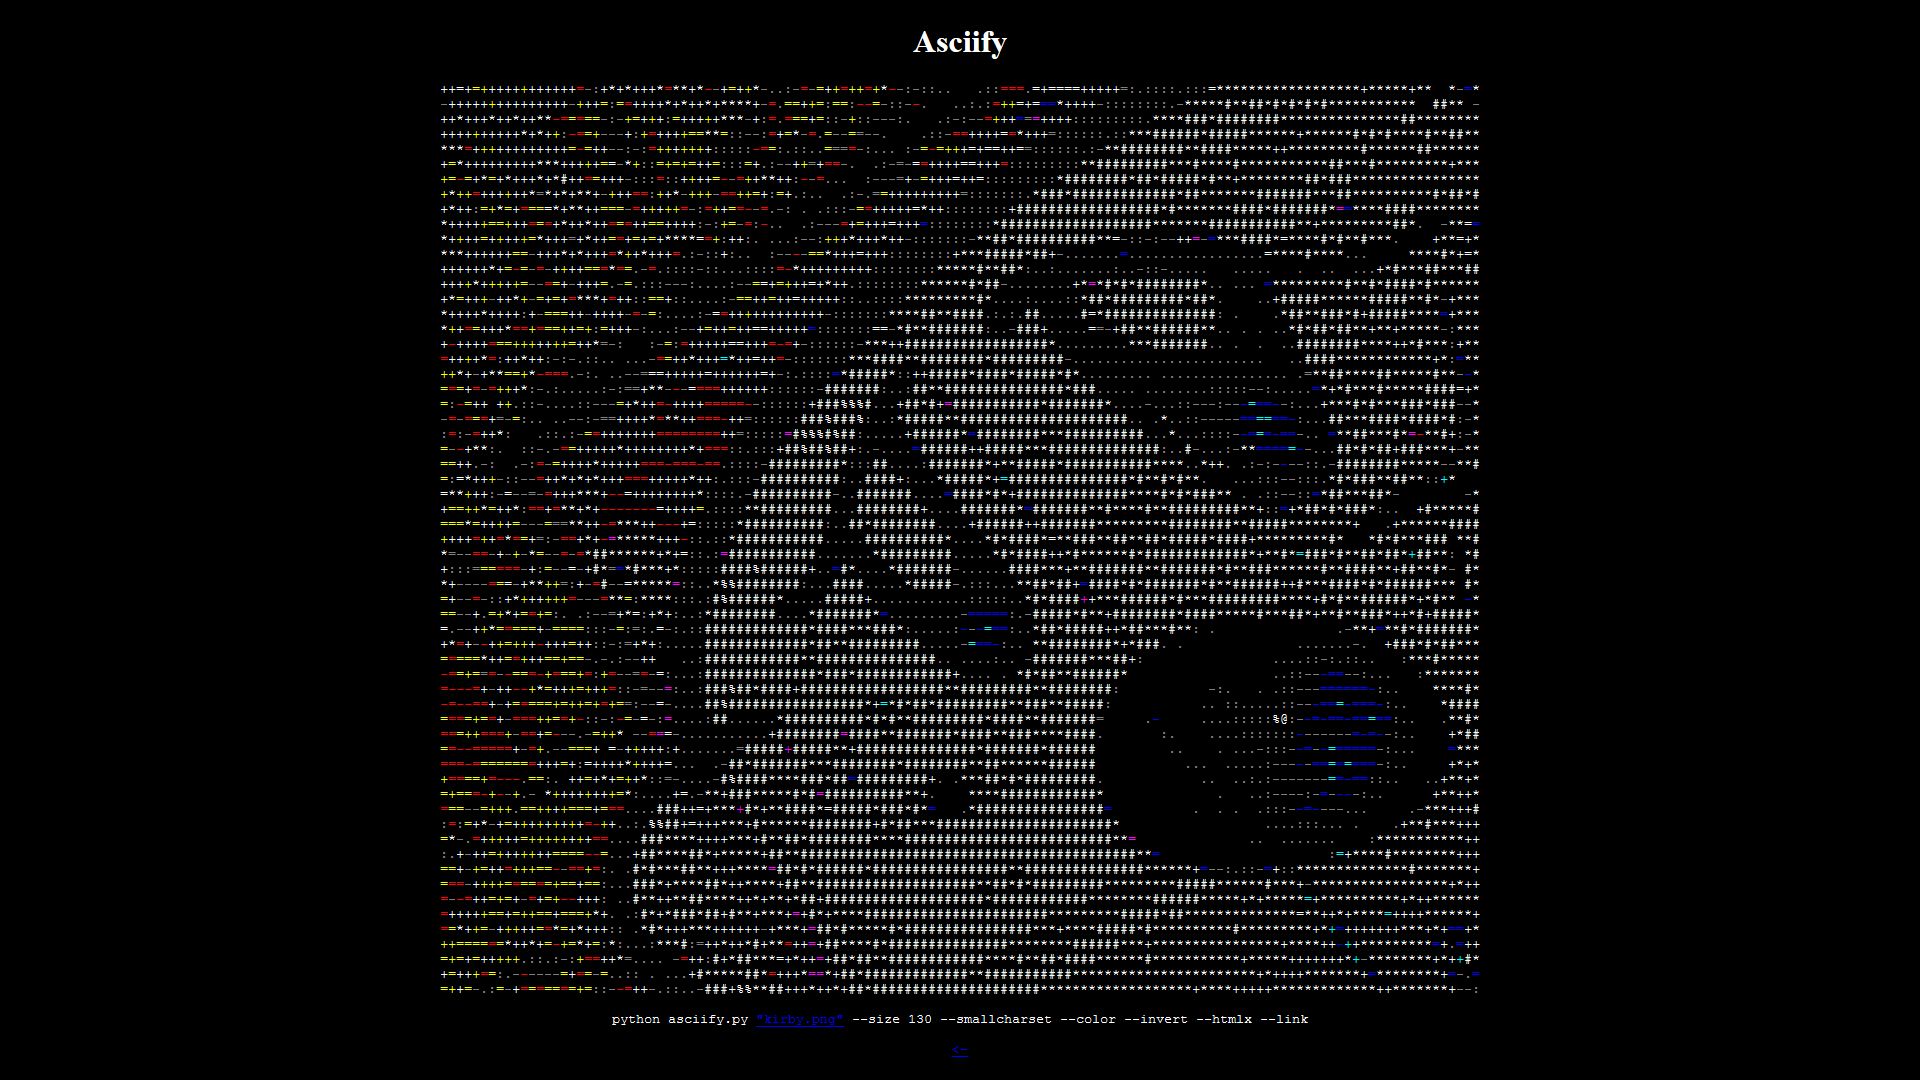
Asciify does exactly this; it takes in an image and some optional parameters and maps the pixels’ intensity onto a character set. Both the large and small default character sets are taken from a post by Paul Bourke.
In conjunction with asciify.py, I wrote index.py, which asciifies a bunch of images and results in their html form; it also creates an index. All images asciified for this post can be viewed through this index¹.
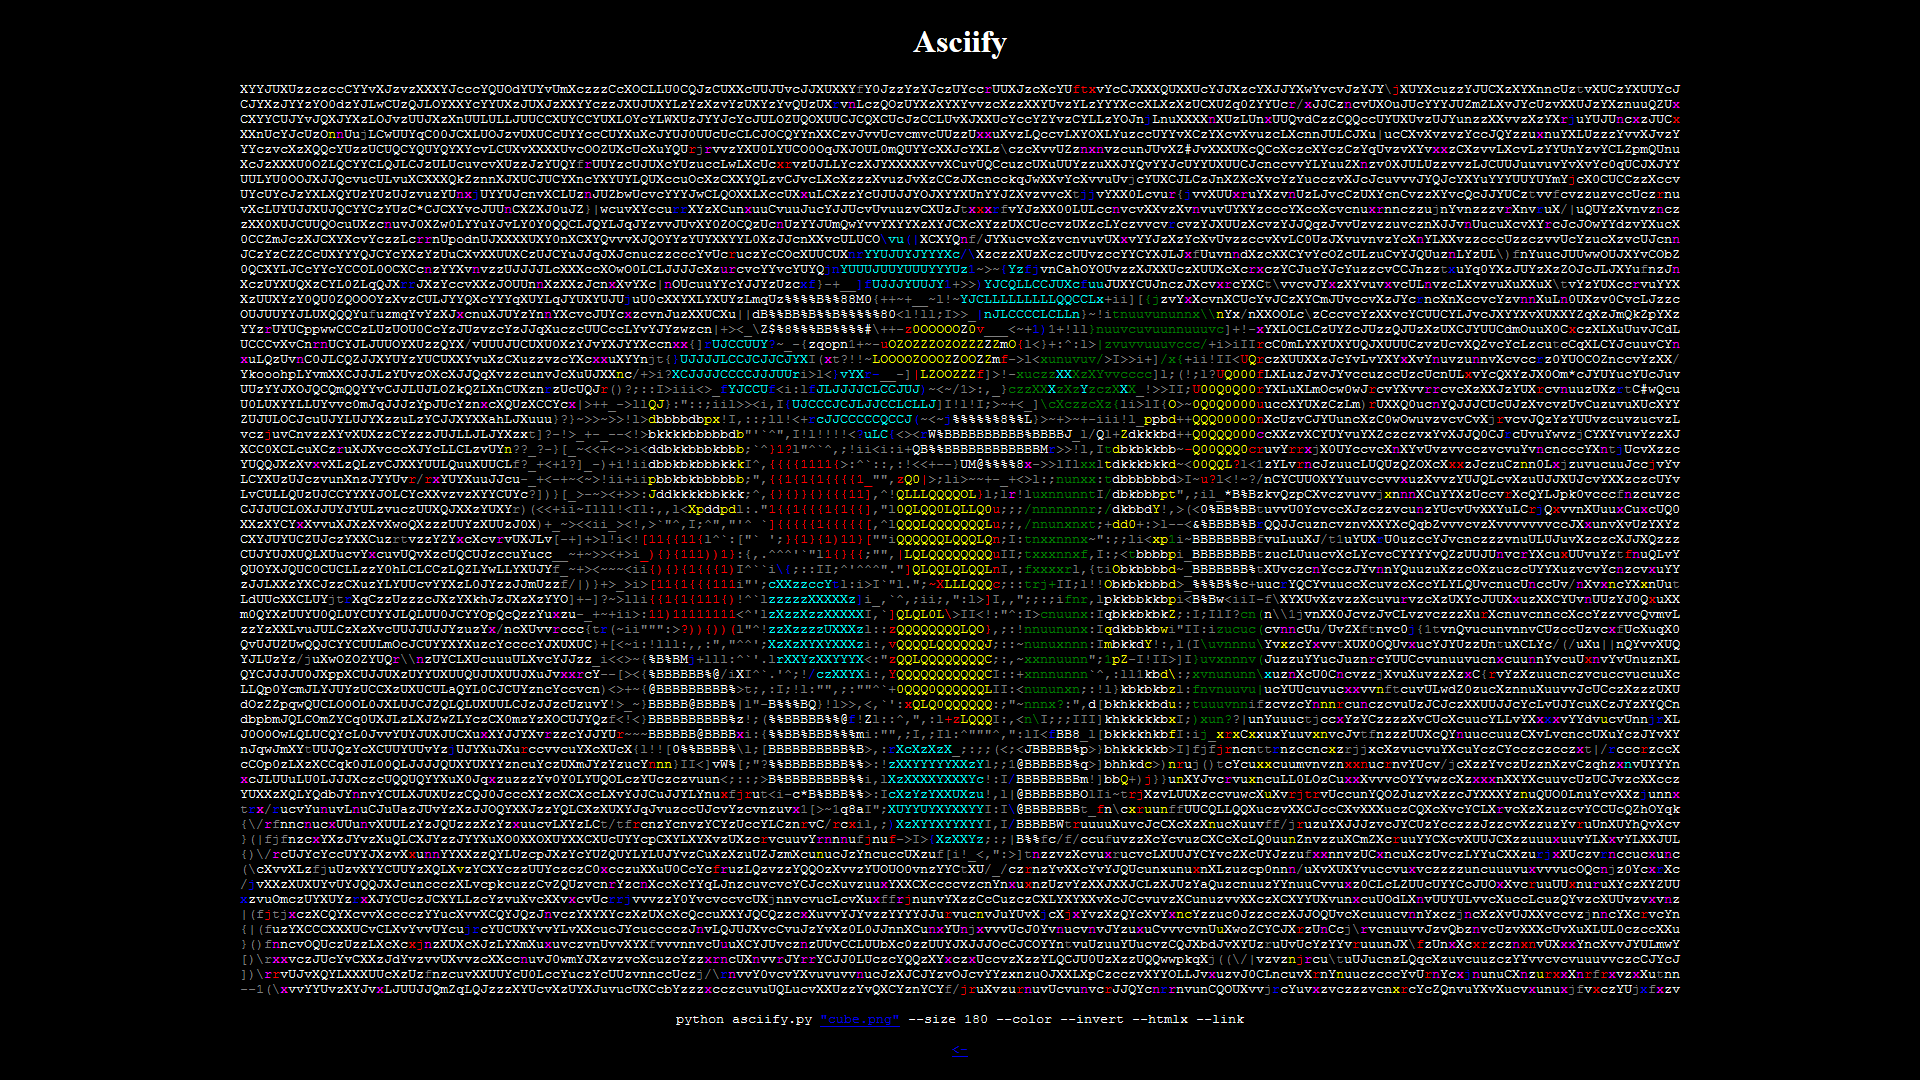
Converting an image to its asciified form works best when there is a lot of contrast in the image. Because of this, some pre-processing of the image may be required for best results (all images shown where only cropped or rotated). The built-in color functionality also only knows of 8 colors, so bright and different colors look the best, as they interestingly differentiate from one another. The asciified image’s size also plays a role, the larger it is, the better the characters blend into one and appear to be one image.
scale(1.000401)%27%3E%3Cuse%20x=%270%27%20y=%27-4.18568%27%20xlink:href=%27%23g0-1%27/%3E%3C/g%3E%3Cg%20transform=%27translate(0%2013.948)scale(.999987)%27%3E%3Cuse%20x=%275.852927%27%20y=%27-8.522894%27%20xlink:href=%27%23g1-1%27/%3E%3C/g%3E%3C/g%3E%3C/svg%3E)
scale(1.000401)%27%3E%3Cuse%20x=%270%27%20y=%27-4.18568%27%20xlink:href=%27%23g0-1%27/%3E%3C/g%3E%3Cg%20transform=%27translate(0%2013.948)scale(.999987)%27%3E%3Cuse%20x=%275.852927%27%20y=%27-8.522894%27%20xlink:href=%27%23g1-1%27/%3E%3C/g%3E%3C/g%3E%3C/svg%3E)
 cube
cubeAsciify is operated on a command prompt; python asciify.py img.png. To parse arguments, the built-in Python module argparse is used. The images are opened and read using the Python Imaging Library module PIL, which needs to be installed for this program to work.
Optional arguments include --size N, where the maximum size can be specified, --invert and --smallcharset, which can sometimes increase the asciified image’s visual appeal and --html, which will output an html file to be viewed in a browser. To see the program’s full potential, simply run python asciify.py --help².
Source code for both asciify.py and index.py can be downloaded, the first is also listed below.
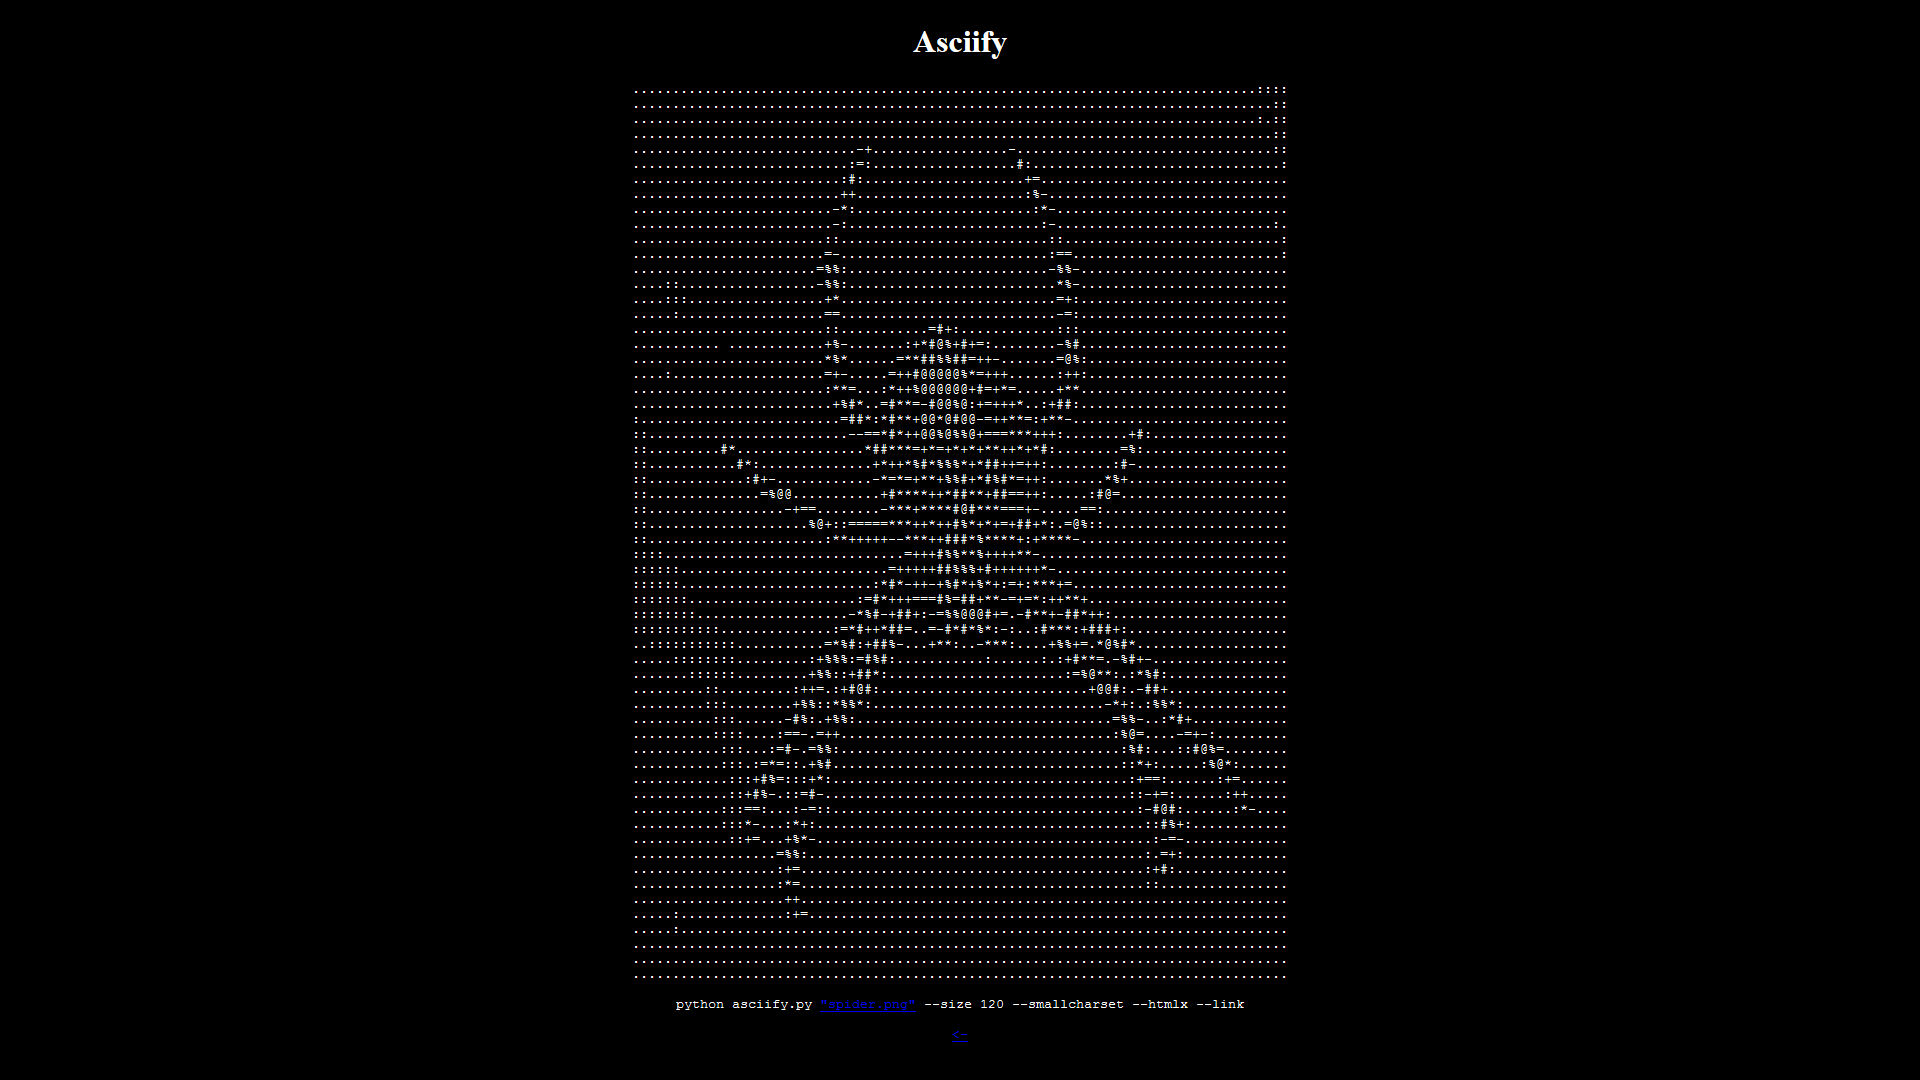
The two examples above use the color mode, though certain images also work in default black and white mode, such as this spider I photographed.
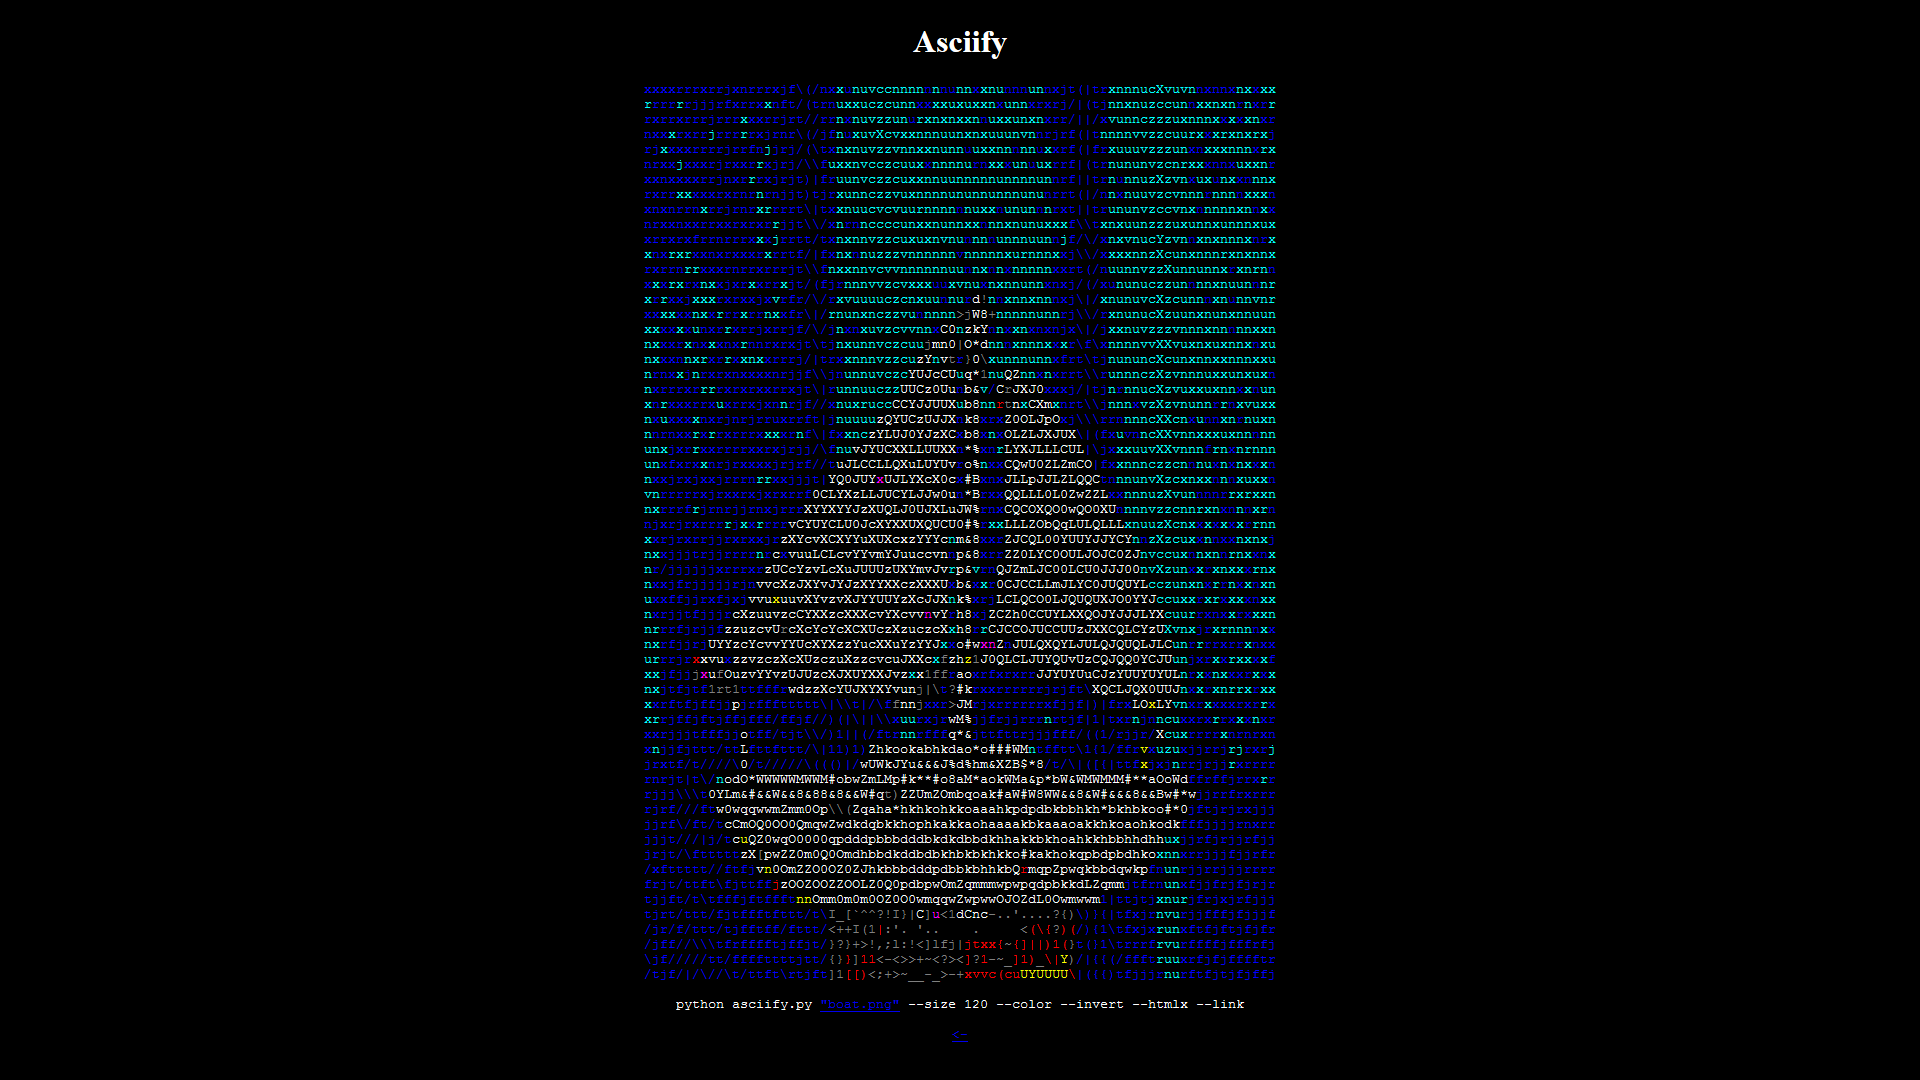
Then again, the colored text also has its charm, especially when the source image has bright colors and a lot of contrast.
Source code: asciify.py
| [1] | [2020-07-30] Note that this web page contains a broken link to my old blog. |
| [2] | [2020-07-30] If you are on a newer machine, you may need to specify python2. |
- pingback from #194